
Use the report’s source revision
The upstream build guide documents the required toolchain and recursive submodules. Pin the commit or branch in the report, then record every extra PR or local patch. A generic source ZIP may omit submodule contents.
The relinker is not the full runtime
Build the conversion tool and the libs target for your intended host. The project’s Windows library build uses its documented MinGW-w64 toolchain. A successful relinker-only build does not establish that host libraries have been produced.
Preserve a reproducible pair
Store the revision, toolchain, build type and output platform with your result. Avoid substituting a release library archive without recording the difference. After building, use the registry/audit workflow before launching a game.
Read current instructions when your report differs
Experimental code changes quickly. The tagged guide below describes the release context; a newer main/PR-stack report may have different requirements. Follow its source and note which instructions you used.
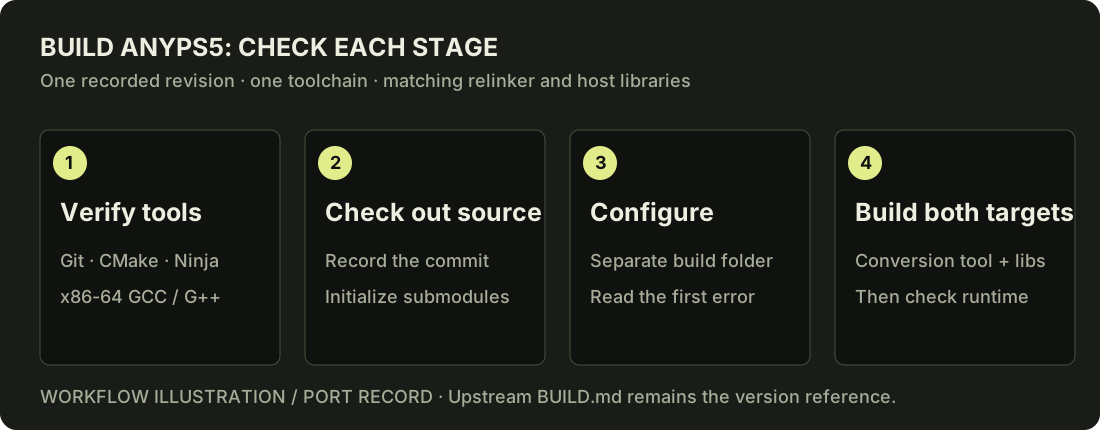
Windows source build: an illustrated checklist
Check the actual executables
Use official Git ↗, CMake ↗, Ninja ↗ and WinLibs ↗ downloads. Match the toolchain to your selected revision; the reviewed upstream instructions specify x86-64 MinGW-w64 GCC 15.2.0. Installing an archive and putting its bin directory on PATH are separate steps.
git --version
cmake --version
ninja --version
gcc --version
g++ --version
Get-Command gcc,g++,cmake,ninja | Select-Object Name,SourceStart in the repository root
Clone the actual upstream repository. Record the revision before following a game report. A source ZIP may omit submodules; initialize the nested dependencies before configuration.
git clone https://github.com/boykopovar/AnyPS5.git
Set-Location AnyPS5
git rev-parse HEAD
git submodule update --init --recursive
Test-Path .\CMakeLists.txtKeep the first configure error
Run from the root containing CMakeLists.txt. Use a separate, newly named build directory when comparing configurations, preserving the old logs. Check certificate failures using the dedicated FFmpeg download guide; replacing a whole CMake file from a video’s shared drive changes the source you are building.
cmake -S . -B build-reviewed -G Ninja -DCMAKE_BUILD_TYPE=Release -DCMAKE_C_COMPILER=gcc -DCMAKE_CXX_COMPILER=g++Build both halves
The conversion executable and host libraries are separate outputs. A relinker showing its usage message only proves it launches. It does not prove the libraries are built or a particular game works.
cmake --build build-reviewed --parallel
cmake --build build-reviewed --target libs --parallel
For a missing static shader library, follow the libSPIRV.a diagnostic path and retain the configure log. Copy host libraries only from the same revision and intended host target.
Jump to a build step
The video was published October 12, 2026. Its chapter times come from the author’s metadata. Current documentation and the revision named by a test report take precedence over a historical video command.
Sources
Prepare your next step.
Use the local tools alongside the upstream documentation.